Cleaning out the cupboard - Daisy Punch & Gingham Gala fun!
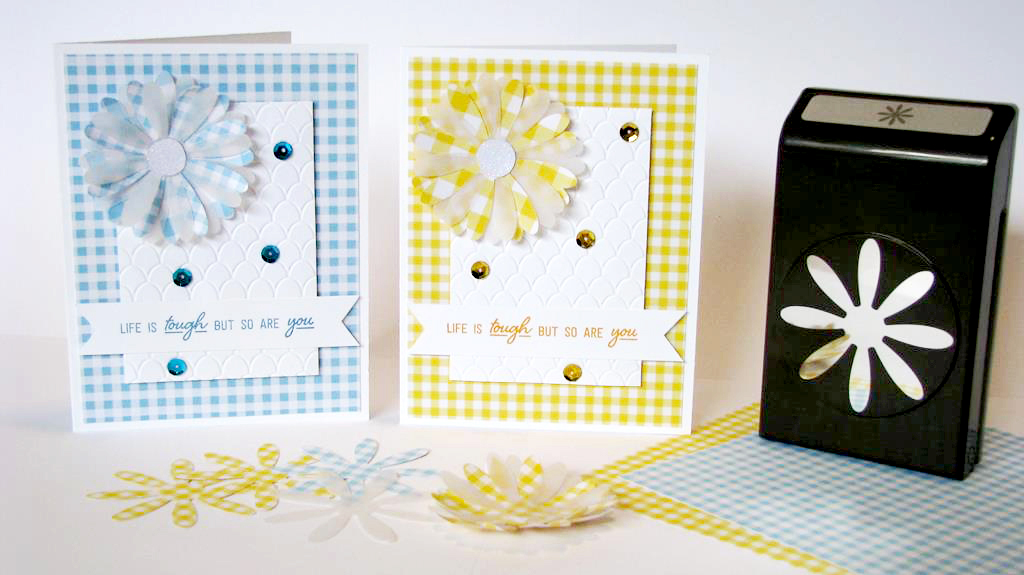
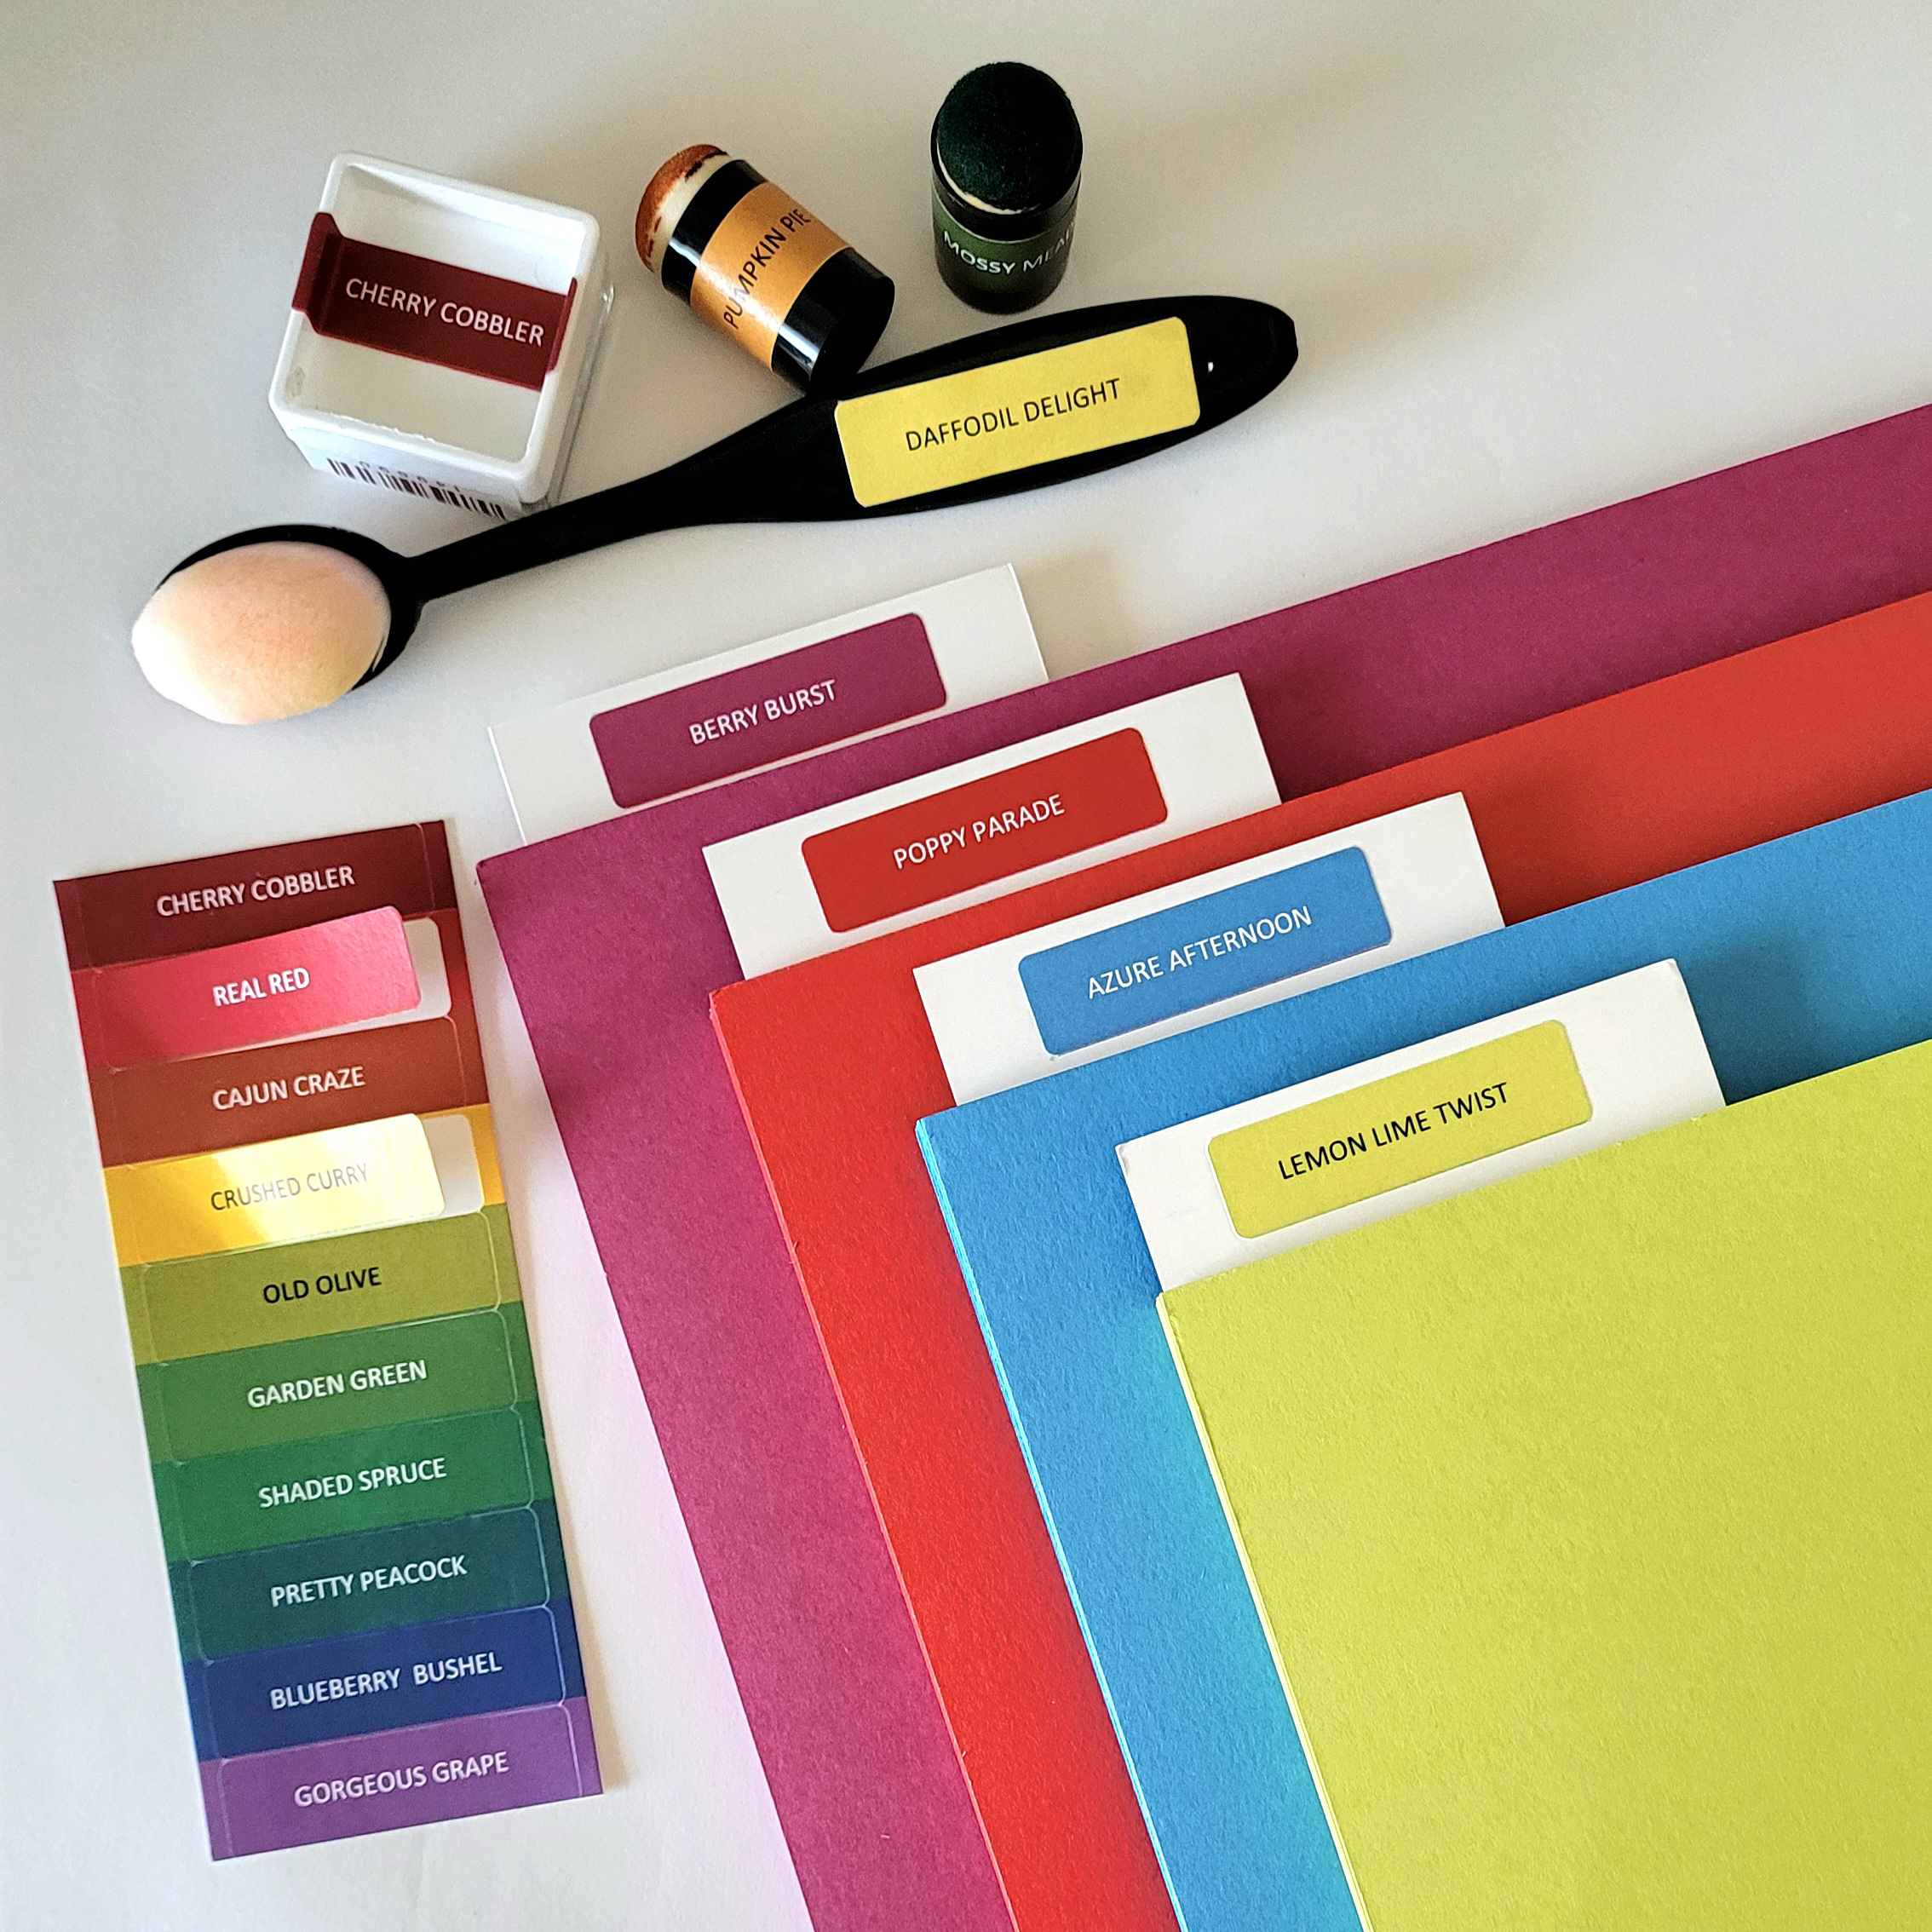
Back during Sale-A-Bration I was so busy setting up Paper Pumpkin Clubs, designing cards for classes and becoming top SAB seller for my team, that I forgot I had ordered Gignham Gala paper and the daisy punch with intention of doing some summer cards.
Today was office cleaning day, and lo, I discover a whole unopened pack of designer paper in the back corner of the cupboard. I had put it there for the proverbial "safe keeping" when I would "find time" to use it. So I found time today.
Out came the daisy punch, some whisper white thick card stock, some velum paper, and some sequins. I did make cards in all five glorious colours of the Gingham paper, and I did remember after the photos that I also had the FREE SAB coordinating ribbon pack stogged away in a drawer for "that special time when I would make those special cards...." but I thought I'd focus on two cards close up, rather than a desktop full of them at a distance.
How It's Made
This is such a simple card design, and it uses only basic paper and tools. My card bases are standard 4.25" x 5.5" in thick Whisper White. The Gingham paper is cut to 4" x 5.25". I glued that directly to the card base. Mounted up on dimensionals is a smaller piece of regular whisper white, measuring 2.75" x 4" that I ran through an embossing folder to give a little bit of texture.The flowers are made from four layers cut with the daisy punch - two of the matching gingham with two velum flowers alternating in between. I used my bone folder to curl the petals up at random after gluing the layers all together. There's no real particular way to glue the flower layers together - I just off-set them from each previous layer a little as I went. I finished off the middles with a 1/2" circle of white shimmer/glimmer paper. They also look FANTASTIC with the new fuzzy yellow perennial essence floral centres, but I'm saving those for another project.
I know - I know, I need to use them..... I will, I promise!









.jpg)
.jpg)
.jpg)
.jpg)
.jpg)
.jpg)
.jpg)
.jpg)
.jpg)
.jpg)
.jpg)
.jpg)
.jpg)
.jpg)
.jpg)
.jpg)
.jpg)
.jpg)
.jpg)
.jpg)
.jpg)
.jpg)
.jpg)
.jpg)
.jpg)
.jpg)
.jpg)
.jpg)
.jpg)
.jpg)
.jpg)
.jpg)
.jpg)
.jpg)
.jpg)
.jpg)
.jpg)
.jpg)
.jpg)
.jpg)
.jpg)
.jpg)
.jpg)
.jpg)
.jpg)
.jpg)
.jpg)
.jpg)
.jpg)
.jpg)
.jpg)
.jpg)
.jpg)
.jpg)
.jpg)
.jpg)
.jpg)
.jpg)
.jpg)
.jpg)
.jpg)
.jpg)
.jpg)
.jpg)
.jpg)
.jpg)
.jpg)
.jpg)
.jpg)
.jpg)
.jpg)
.jpg)
.jpg)
.jpg)
.jpg)
.jpg)
.jpg)
.jpg)
.jpg)
.jpg)
.jpg)
.jpg)
.jpg)
.jpg)
.jpg)
.jpg)
.jpg)
.jpg)
.jpg)
.jpg)
.jpg)
.jpg)
.jpg)
.jpg)
.jpg)
.jpg)
.jpg)
.jpg)
.jpg)
.jpg)
.jpg)
.jpg)
.jpg)
.jpg)
.jpg)
.jpg)
.jpg)
.jpg)
.jpg)
.jpg)
.jpg)
.jpg)
.jpg)
.jpg)
.jpg)
.jpg)
.jpg)
.jpg)
.jpg)
.jpg)
.jpg)
.jpg)
.jpg)
.jpg)
.jpg)
.jpg)
.jpg)
.jpg)
.jpg)
.jpg)
.jpg)
.jpg)
.jpg)
.jpg)
.jpg)
.jpg)
.jpg)
.jpg)
.jpg)
.jpg)
.jpg)
.jpg)
.jpg)
.jpg)
.jpg)
.jpg)
.jpg)
.jpg)
.jpg)
.jpg)
.jpg)
.jpg)
.jpg)
.jpg)
.jpg)
.jpg)
.jpg)
.jpg)
.jpg)
.jpg)
.jpg)
.jpg)
.jpg)
.jpg)
.jpg)
.jpg)
.jpg)
.jpg)
.jpg)
.jpg)
.jpg)
.jpg)
.jpg)
.jpg)
.jpg)
.jpg)
.jpg)
.jpg)
.jpg)
.jpg)
.jpg)
.jpg)
.jpg)
.jpg)
.jpg)
.jpg)
.jpg)
.jpg)
.jpg)
.jpg)
.jpg)
.jpg)
.jpg)
.jpg)
.jpg)
.jpg)
.jpg)
.jpg)
.jpg)
.jpg)
.jpg)
.jpg)
.jpg)
.jpg)
.jpg)
.jpg)
.jpg)
